FDM-Printable Pull Handle for Resin Printers
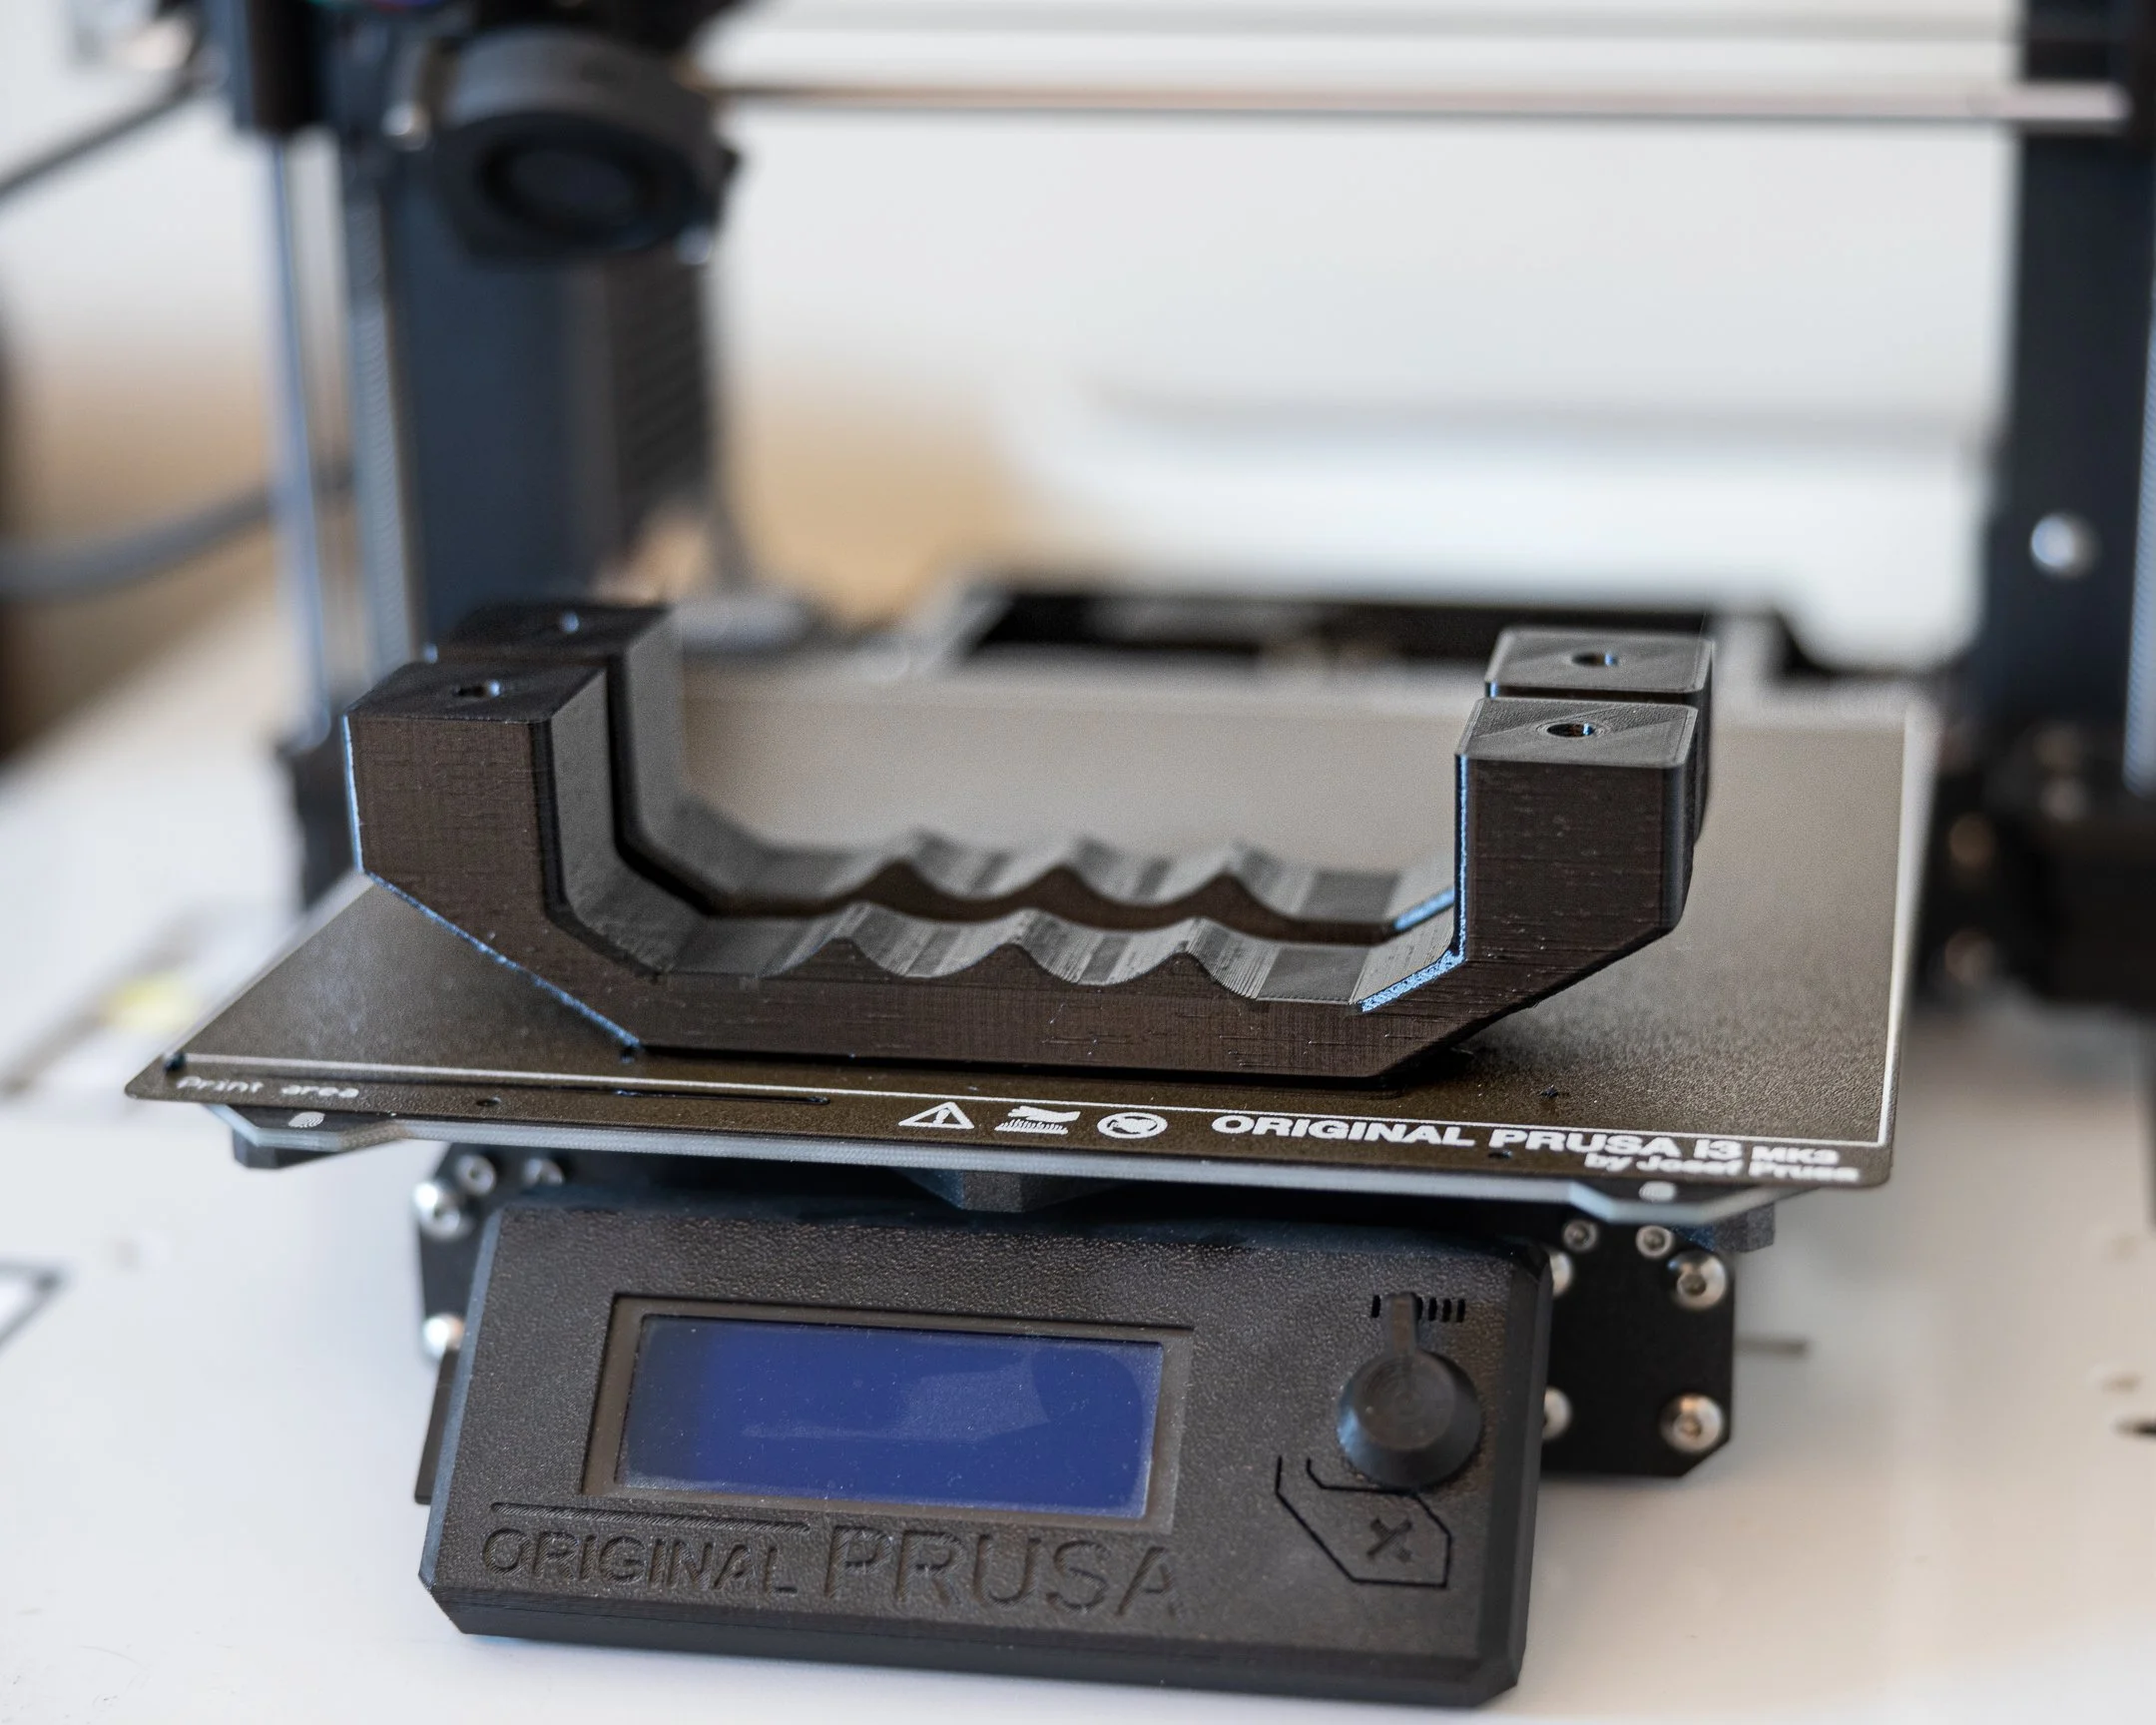
Halot Lite UV cover pull handles
I recently acquired a Creality Halot Lite resin printer, and while it will probably sound silly I haven’t even printed with it yet. There’s so much discussion regarding workflow, PPE and safety considerations, resin properties (the deepest rabbit hole…), that even though I’ve had the printer for over a week now, I’m still pulling together everything I need to produce my first print!
While waiting for the printer to arrive, I read a lot of comments from users on r/resinprinting talking about how common it was to transfer resin from a gloved hand to the UV protective cover. So, I figured before I had an opportunity to do the same I’d make a couple pull handles to mount to the top of both the printer, and the cure and was station.
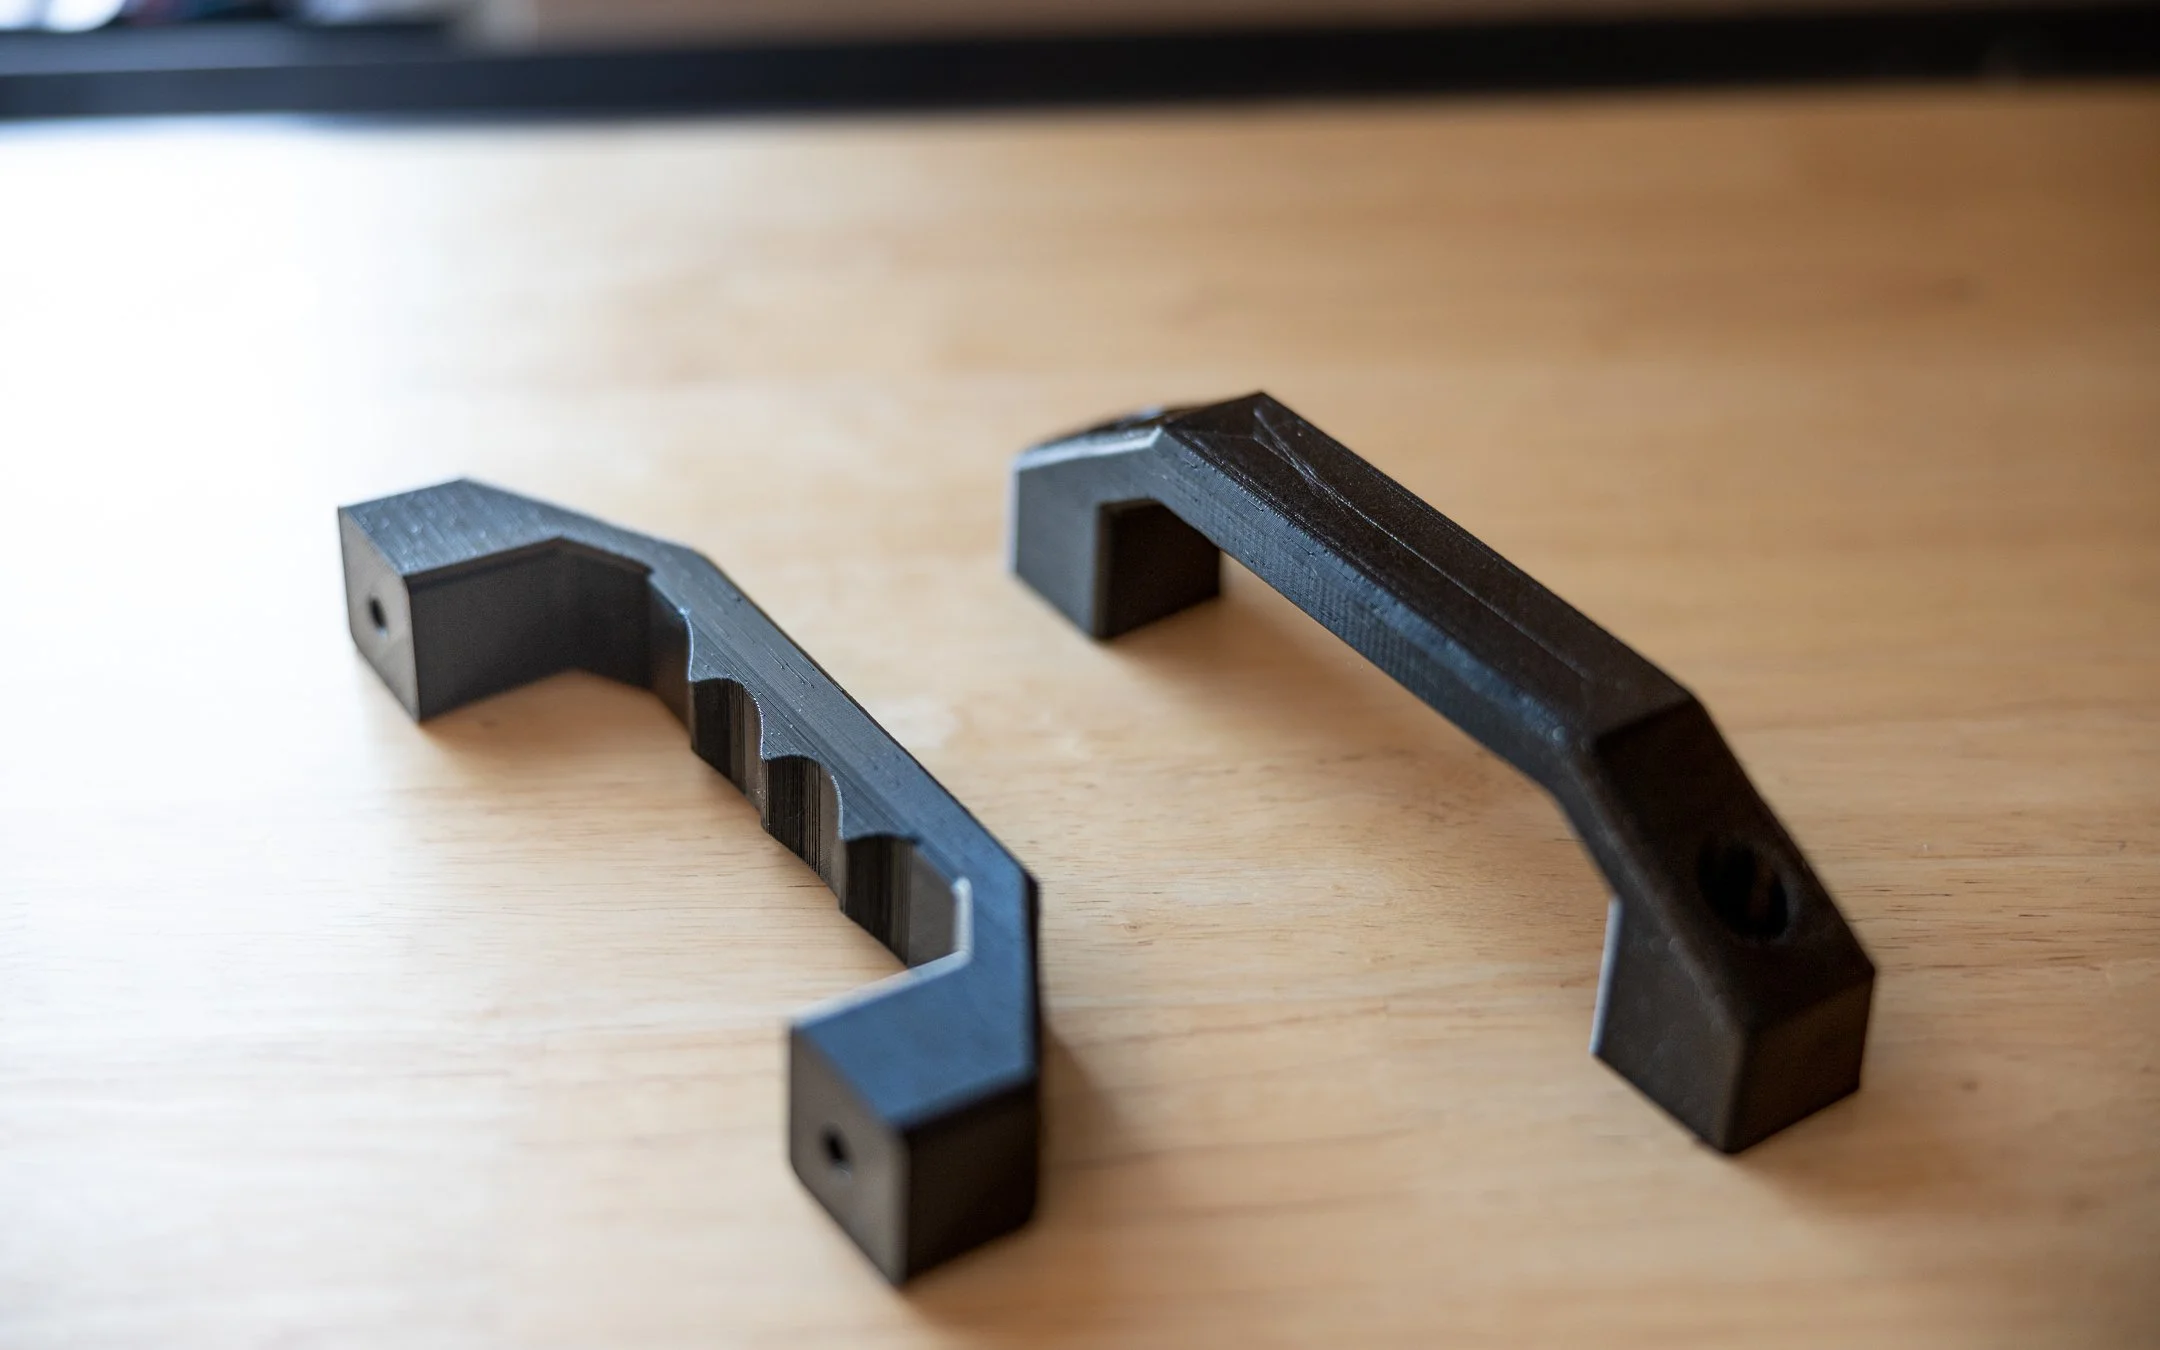
Pull handles printed without supports
Design
The pull handle is designed to be printed as a single piece without supports, making it easy and convenient to print on most i3 style FDM printers (ie: it’s probably too big to print on a prusa mini). The handle mounts to the top of the UV/dust cover and provides a convenient way to remove the cover without the risk of transferring resin to the cover.
Features of the Pull Handle Accessory
Several features of the pull handle accessory make it a must-have for resin printer users:
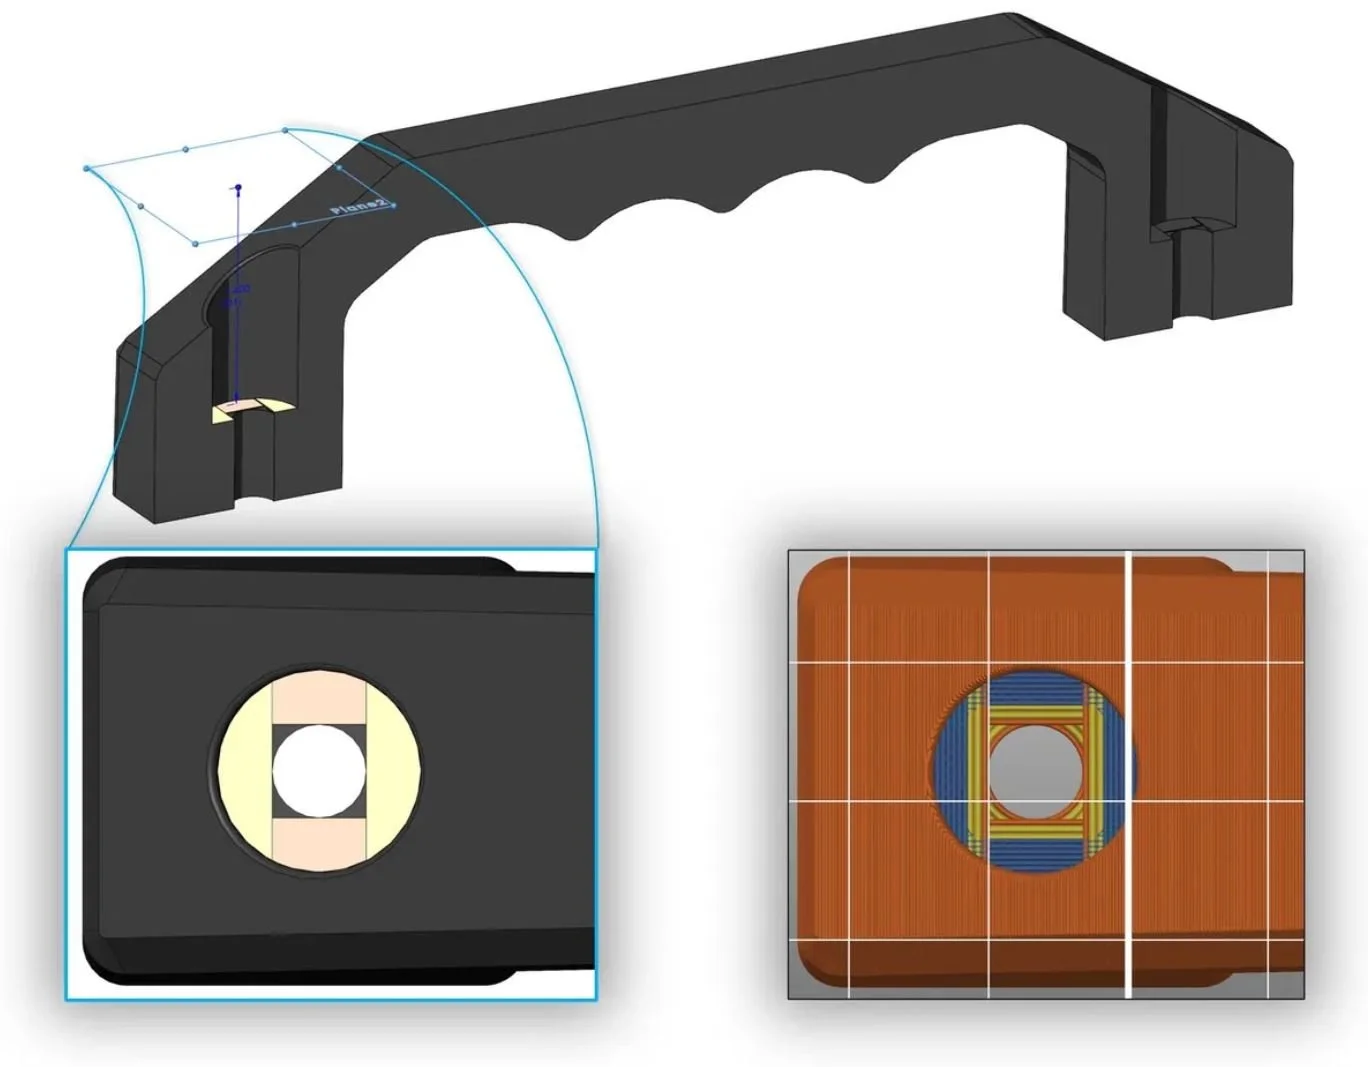
Fasteners - The handle accepts ¼ inch diameter by 1 inch long shoulder bolts or button head screws. M6 x 25/26 mm long fasteners may also work.
Overhang - When printed upside-down, the greatest overhang will be 32 DEG to the build plate.
Bridging surfaces - The counterbore has been modified to support 3D printing and incorporates 2x orthogonal surfaces that are 0.15mm thick. The feature thickness is intended to support a 0.15mm layer thickness with linear travel when extruding the bridge.
Ergonomics - With a gap width of 5.1 in (12.95 cm) and height of 1.5 in (3.81 cm), the handle is quite large. The intent behind being so large is that the handle may be easier to grab with gloved hands or when juggling multiple post UV printing tasks.
Printing Parameters and Tips
If you’d like to print this model on an i3 style printer, I recommend using the following printing parameters:
Base filament settings - Prusament PETg profile
Nozzle - 0.4 mm
Layer height - 0.15 mm (note that this supports the 2x overhangs within the counterbore features)
Supports - Off
Perimeters - 3 (if modifying extrusion width, otherwise 2 is suggested)
Extrusion width, Perimeters - 0.6
Extrusion width, Infill - 0.6
Extrusion width, Solid Infill - 0.6
Cooling, Bridges fan speed - 100%
Cooling, Disable fan for the first - 5 layers
Total print time for the modified Prusament PETg profile settings is 7.25 hours for a single handle.


Final Thoughts
If you’ve also picked up a Creality Halot Lite resin printer and would like to print your own pull handle, you can find the .stp, .stl, and other printing files over at printables. Here’s to hoping it works out as well for you as it has been for me!